TouchCast Studio: Editor Screen Features
The TouchCast Editor screen is used to ‘fine tune’ the presentation prior to uploading it for sharing with others. To activate the editor, click the Done button located in the upper right corner of the Record screen.
The Editor screen is displayed below and explained in this section. The edit tools are used to move through the recorded presentation and perform editing operations including:
- Deleting entire clips or portions of clips
- Moving clips to different locations in the presentations
- Splitting clips into multiple clips to allow additional editing
- Retaking scenes
- Adding additional clips and sound recording
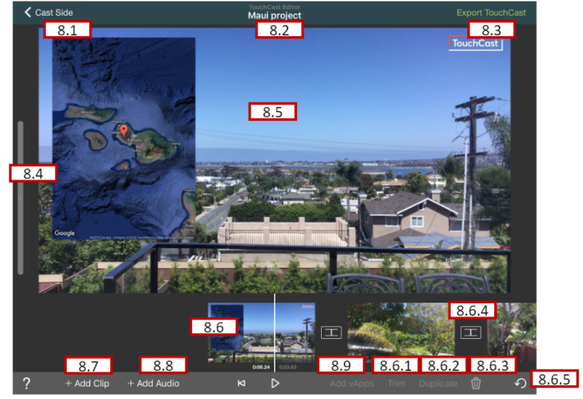
In addition to the question mark icon (?) which you can tap to view Coachmarks, the Studio Editor Screen contains these options:
8.1 Cast Side Button
Tap the Cast Side button located in the upper left corner of the Editor screen if you want to take a break from working on your project. Studio prompts you to Save the project before you return to the New TouchCast screen.
8.2 Project Name
This area displays the project name. If you have not saved the project yet, the name defaults to New Project. Otherwise, the name you assigned when you last saved the project will display.
Tap this area to initially save your project and assign it a name or to save your project and optionally revise its name.
8.3 Export TouchCast Button
Tap the Export TouchCast button when you have completed editing your presentation and are ready to prepare it for upload/export.
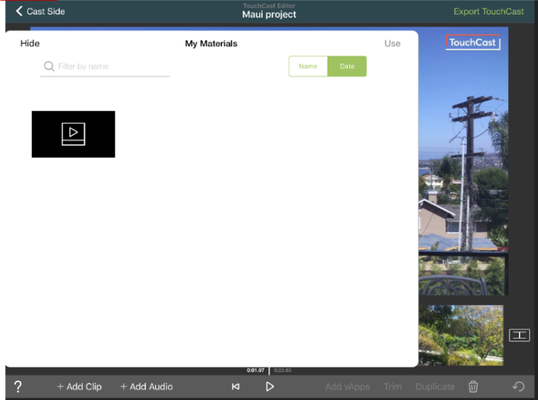
8.4 My Materials Collection
Tap the bar on the left side of the screen to open a window containing a list of materials you have used in your presentation clips. You can select objects and reuse them in other clips (select → Use button). Tap the Hide button to close the window.
8.5 Clip Playback Window
The Clip Playback window displays the recorded frame at a specific location in the clip. Playback tools are used to move through the recorded presentation and perform editing operations.
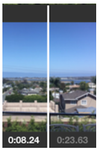
8.6 Clip Tray / Clip Playback Controls
The Clip Tray contains thumbnails of all of the clips you have recorded in your presentation. Position clips and specific positions (frames) within clips over the playback bar, then perform actions such as trimming (splitting) clips duplicating clips, and deleting clips.
- Clips can be moved about in the Clip Tray by tapping and holding the clip thumbnail, then dragging the thumbnail to a new position on the tray.
- Tap the Jump Clip (back) icon to return to the beginning of the first clip.
- Tap the Playback icon to begin/resume playback of your presentation clips in the Playback Window. The icon will change to . Tap the icon to pause playback at the current frame position.
- The Playback Bar indicates the current frame within the presentation. Move the presentation position over the Playback Bar by selecting any clip and sliding the Clip Tray left (forward) of right (back).
- The Playback Timer displays both the current position in the presentation and the total length of the recorded presentation in mm:ss:tt format.
The following is a brief description of the clip editing actions you will use:
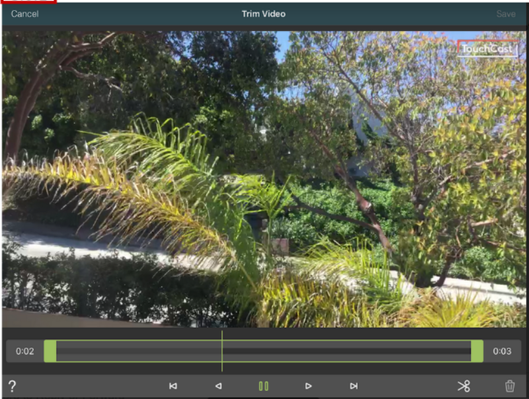
8.6.1 Trim Clip
Tap the clip in the Clip Tray a clip to select it, then tap the Trim option to split the selected clip into two clips (replacing the original clip). The Trim option becomes active only after you have selected a clip. The playback bar serves as the split point.
When you select the Trim option, a window displays the selected clip in better detail, allowing you to locate a specific point (frame) where the split should be made. Place the playback bar on that spot and tap the scissors icon to execute the split.
8.6.2 Duplicate Clip
Tap the clip in the Clip Tray a clip to select it, then tap the Duplicate option to create a clone in the clip tray immediately after the original clip. The option becomes active only after you have selected a clip.
8.6.3 Delete Clip
Tap the clip in the Clip Tray a clip to select it, then tap the Delete option (trash can icon) to delete the clip. The option becomes active only after you have selected a clip
An example use of Trim and Delete is to remove ‘dead space’ at the end of a clip (shorten the clip). You would first trim the clip at the point you want to keep, creating two clips. Then you would delete the second clip containing the ‘unwanted’ part.
8.6.4 Transition
Breaking points between clips are represented with the following icon:

Clicking the break point icon between clips displays transition options for how the clip will transition to the next clip.

- No Transition - (Default) No transition between clips
- Crossfade - Previous clip dissolves into the next one
- Fade with White - Previous clip fades to white and next one appears out of white
- Fade with Black - Previous clip fades to black and next one appears out of black
8.6.5 Undo
Allows the last clip editing action to be undone. When you tap the undo icon you will be prompted to confirm that you want to undo the last clip edit command (the command will stated in the prompt). You can proceed to undo the action or cancel the undo action.
8.7 Add Clip
Tap the + Add Clip button to add an additional clip to your presentation. A pop up of option for creating the new clip will display. 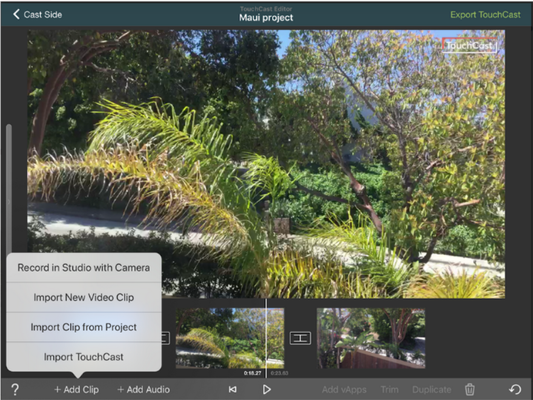
- Record in Studio with Camera - takes you back to the Record screen where you will record the new clip
- Import New Video Clip - creates the new clip using an existing video clip you select from your local files or search for
- Import Clip from Project - creates the new clip using a clip from your My Materials collection of clips you have used in the project
- Import TouchCast - creates the new clip using an existing touchcast video
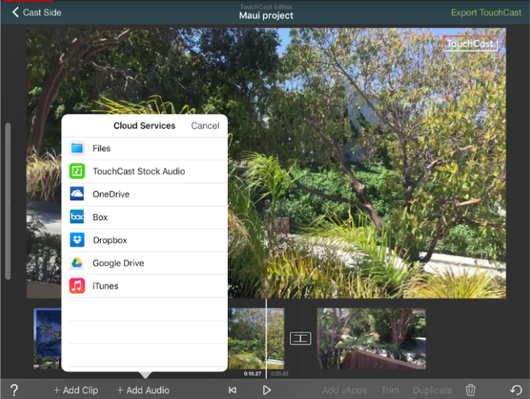
8.8 Add Audio
Tap the + Add Audio button to add a background audio track to your touchcast. Audio tracks can be selected from several sources including local files and TouchCast Stock Audio files including music, loops, and sound effects.

Tap the Select a Soundtrack button. A list of audio file sources displays. In the example below, the TouchCast Stock Audio option is selected.
A search function allows you to filter audio files by type (music, loops, and sound effects) or by name.
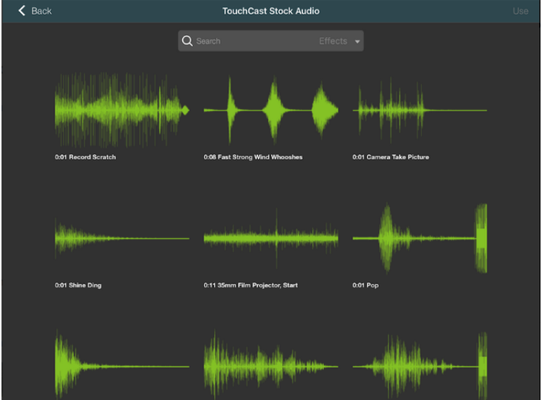
Select the audio file and tap the Use button to add the audio to your presentation.
8.9 Add vApps
Use the Add vApps option to add one or more vApps to one of your recorded scenes. The option becomes active only after you have selected a clip.

When you select the Add vAps option, a window displays the selected clip in better detail, allowing you to locate a specific point (frame) where the vApp should be added. Place the playback bar on that spot and tap the vApps button to select and place the vApp.
