TouchCast Pitch Windows: Edit & Share Mode
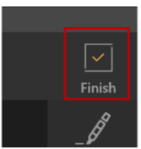
The Edit Mode options are used to ‘finalize’ the presentation. To activate the Pitch Edit tool, click the Finish button located in the upper right corner of the Pitch Record screen
The Edit mode screen is displayed below and explained in this section. The edit tools are used to move through the recorded presentation and perform editing operations including:
- Deleting entire clips or portions of clips
- Moving clips to different locations in the presentations
- Splitting clips into multiple clips to allow additional editing
- Retaking scenes
- Adding additional recordings
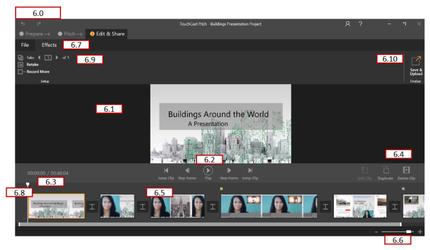
Clip Playback Window
The Clip Playback window displays the recorded frame at a specific location in the clip. Playback tools are used to move through the recorded presentation and perform editing operations.
Clip Playback Controls
The Playback Controls are used to start/pause playback and move through the recorded clips.
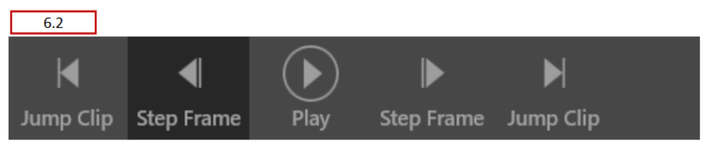
- Jump Clip (back) - Move back one complete clip
- Step Frame (back) - Move back one frame of the current clip
- Play / Pause Control - Play or pause the playback at the current position (playback bar)
- Step Frame (forward) - Move forward one frame of the current clip
- Jump Clip (forward) - Move forward one complete clip
Clip Playback Timer
The Playback Timer displays both the current position in the presentation and the total length of the recorded presentation in mm:ss:tt format.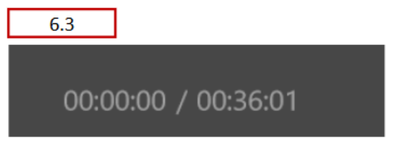
Clip Action Options
These options are used to:
- Split the selected clip at the current position
- Duplicate the selected clip
- Delete the selected clip

- Splitting the selected clip produces two clips (replacing the original clip). The playback bar serves as the split point.
- Duplicating the selected clip creates an exact copy of that clip in the Clip Tray immediately after original clip. The new clip can be edited independently of the original clip.
- Deleting the selected clip removes it from the presentation and the Clip Tray.
Clip Tray
The Clip Tray provides a visual depiction of all clips comprising the presentation.
The large vertical bar represents the current position within a clip (corresponds to what is displaying in the viewing area).

Below is additional explanation of symbols you will see on the Clip Tray:
Playback Bar. The Playback Bar will advance during playback and it can be manually moved to a specific frame by clicking on it and moving the bar with the cursor.

Current Clip. The currently-selected clip’s frame will be highlighted as shown below.

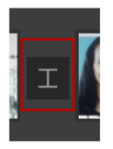
Break Points. Breaking points between clips are represented with the following icon:
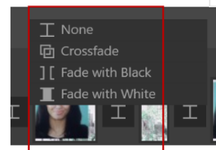
Transition. Clicking the break point icon between clips displays Transaction options for how the clip will transition to the next clip.
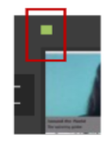
Interactive elements (documents, websites) are represented with colored squares above the clip.
Clip Tray Scale Control
This slider control is used to adjust the size (visual representation) of each clip in the Clip Tray. This is used to compress the tray (if there are many clips) or expand the tray (to allow more precise splits).
Effects Options
The Effects options menu contains three controls.
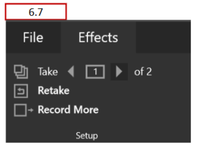
Take
The Take control is used to select which take of a scene should be used (if multiple takes were recorded for a scene). In the example above, two takes are available of the current scene.
Retake
The Retake control is used to retake the current scene. When this control is clicked, you are returned to the Pitch mode, where an additional take of the current scene can be recorded.
Record More
The Record More control is used to record additional scene. When this control is clicked, you are returned to the Pitch mode, where an additional scene can be recorded.
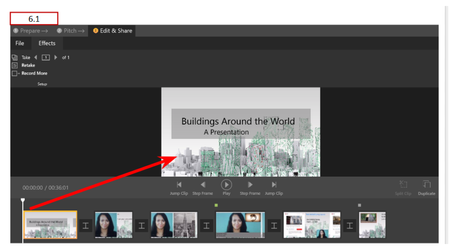
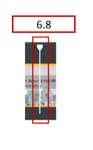
Playback Bar
The Playback Bar indicates the frame position in the current clip playing. That frame will display in the Playback Window.
Finalize - Save & Upload
The Save & Upload option is clicked after all editing of the presentation has been completed and you are ready to share your TouchCast Pitch presentation files with others in your organization or with a wider, public audience. To begin the process, click the Save & Upload button located at the upper right corner of the Pitch screen.

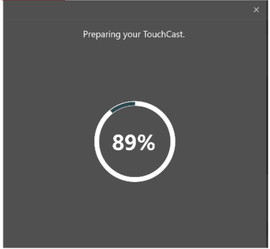
Export Preparation
When the Save & Upload button is clicked, Pitch prepares your project file for export. The length of time required will depend on the number of scenes and the options used in your presentation. During this time, the following screen is displayed: